
First, some background 🔗
My church uses Planning Center Check-Ins to track attendance for churchgoers, and to help with security with little ones going to kids areas. It’s a great product. Yay!
Check-Ins runs on iOS, Android, macOS, and Windows machines. Yay!
Dymo label printers are cheap and plentiful. Yay!
Check-Ins can print to a Dymo printer from macOS or Windows, but not from a tablet. Boo!
The problem 🔗
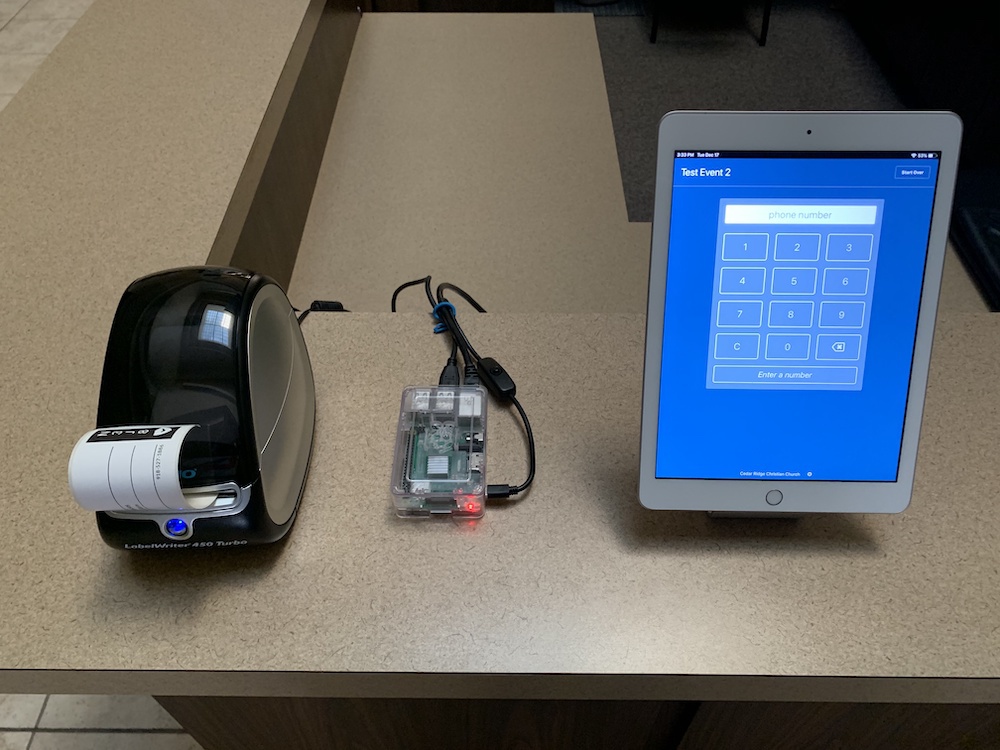
We want to print to Dymo printers, which are inexpensive, from an iPad.
Existing solution 🔗

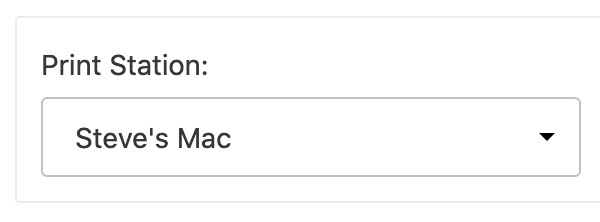
You can connect a Dymo printer to a Windows or macOS computer and use the “Print Station” option.
That works great, but I’d rather not have the expense of an extra computer nor the burden of maintaining it.
Better solution 🔗
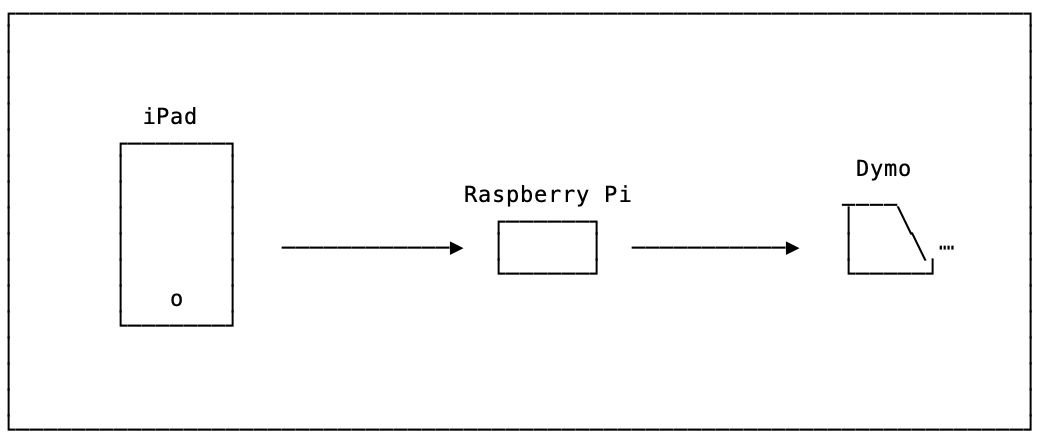
It’d be really cool if we could use a Raspberry Pi as that in-between computer instead of a full laptop or desktop. And that’s what I figured out!
How it works 🔗
I installed Raspbian Linux on my Raspberry Pi 4 with VNC Viewer and a virtual console. That means that when the Pi boots up, there is a virtual desktop created, even though you cannot see it unless you plug in a monitor.
CUPS is installed with the proper Dymo driver, so it’s a matter of plugging in the Dymo printer and adding it in either the web UI or on the command line.
I also installed Planning Center Check-Ins on Linux. This is possible because the app is an Electron application that can be compiled for multiple platforms.
The lag problem (and solution) 🔗
Everything mostly worked at this point, but there was a major lag in between printing labels. The first label would print within a second or two, which is acceptable. However, any subsequent labels would be delayed by up to 10 seconds!
I spent a full day trying to track down the issue inside CUPS, changing the printer to print in different modes, trying different drivers, etc.
Finally I resorted to a hack, which works beautifully. This script runs on startup and constantly monitors running processes. When it determines that a label was printed, but the usb:// process that printed it still laying around, it kills the process.
This is ugly, but it really works. I don’t know if this is a bug in CUPS, or what, but I suspect it’s a bug in the Dymo print driver. In any case, someone much smarter than I could probably find the actual cause of the lag. In the meantime, my hacky script will keep on running, killing the stuck process as needed.
Instructions 🔗
The whole thing is documented on GitHub, along with a video walk-through:
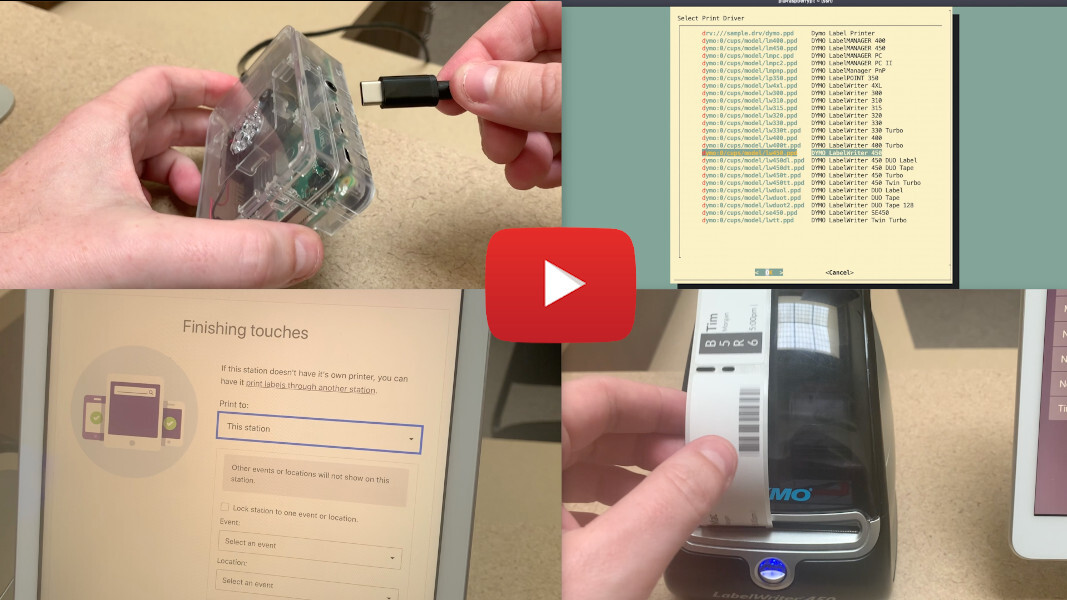
If you are a tech at your church and you’d like to use this solution, please give it a go. Also, let me know! I would be encouraged to hear if any other churches find it useful.